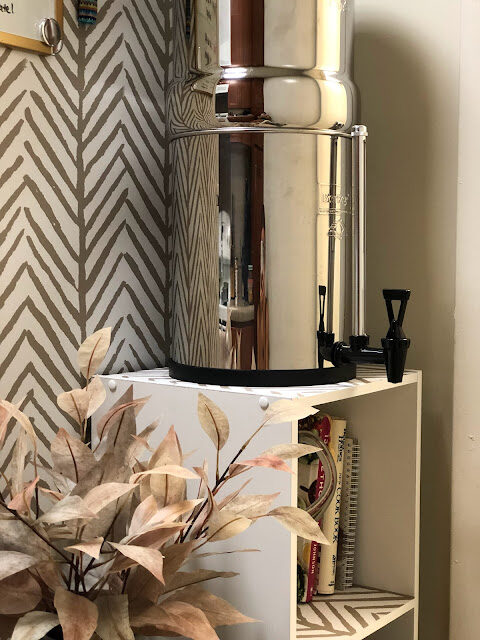
We just got our Berkey less than a month ago and we are absolutely in love! Whenever you read reviews on the Berkey and how so many people love it, there’s a reason for it. Not only is the filtration system incredible, but the water tastes amazing after it’s filtered too. It actually has a really good flavor and does not taste bland, full of chlorine, or mineralized either.
But this blog post is not about the Berkey specifically (or why you should get one). Instead, it’s about the spot in my kitchen I chose to set it up in. I want to share with you the incredibly simple decor ideas I used to create easy access to the Berkey, filling it up, and making one of my new favorite spots in my house incredibly functional and pretty.
Full disclosure, we live in military housing. The walls, floors, and appliances are as basic and bland as they come. With that being said, sometimes you have to get a little creative to get an upgraded and designed look in a military house.
Because we live in military housing, I knew I didn’t want to invest too much money into this corner. I’m set up this spot knowing that when we next move, most of this will not follow and wherever I put our Berkey in our next home will be a completely different spot, feel, design, etc. I also knew that I didn’t just want a Berkey stand. We are limited on space and storage, so anything I can do to add more storage, while also making the design and decor enjoyable, is what I strive to always do.
Everything I used to create this space cost me under $115! First, I’ll show you the before and after, then I’ll break down what I did and the cost of each item.

We sold the old water dispenser and moved the dog food bin into the little side closet. The first thing I setup for the Berkey was the little bookcase I purchased at Target and the small dog food mat to catch any water that might drip from the spigot. The shelf only cost me $31 and took about 15 minutes to put together. The dog food mat was $8. After I put the Berkey on top of it, it felt just a little too bland to me. I got the idea to add removable wall paper and started scouring Target for that too.
Side note: Here in Hawaii it takes a long time for stuff to get here if you order online and shops are limited so we do a lot of shopping at Target.
It was hard to choose which pattern I wanted for the wall paper, but I landed on one with what I felt would look good with the Berkey, go with the rest of my home and have neutral enough colors that I could change up other decor without feeling like it would clash. The roll of wall paper was $34. Once I started putting it on the bookcase I got the nudge in my mind to put it on the side of the refrigerator too. I absolutely LOVE the way it turned out, but I must say that I had to take it off and start over with the same strip 3 times to get it to line up perfectly with the side of the fridge. And I’ll also note that removable wall paper sticks to refrigerators REALLY well! Ha!

After that was done (which took me about an hour to complete), I added the baskets ($15 each), decorated the top shelf with the pitcher we use to fill the Berkey and my most used cook books, and placed the little table and vase next to it. I already had the little table and vase, and this is your reminder that you don’t always need to buy more decor. Sometimes you can just use items already in your home. It can make your space and your items feel brand new simply by giving them a new home and purpose.
Lastly, I decorated the fridge with a gold-trimmed dry erase board, our grocery list pad, and a couple cute magnets. I don’t love having my fridge covered with stuff or magnets, so I personally choose to keep it simple.
So that’s it! The incredibly simple, yet visually pleasing way I decorated this corner for my Berkey. I hope this post has given you some thought about how simple and easy a small space makeover can be. I’d also love to know, what’s one of your favorite spots in your home?

